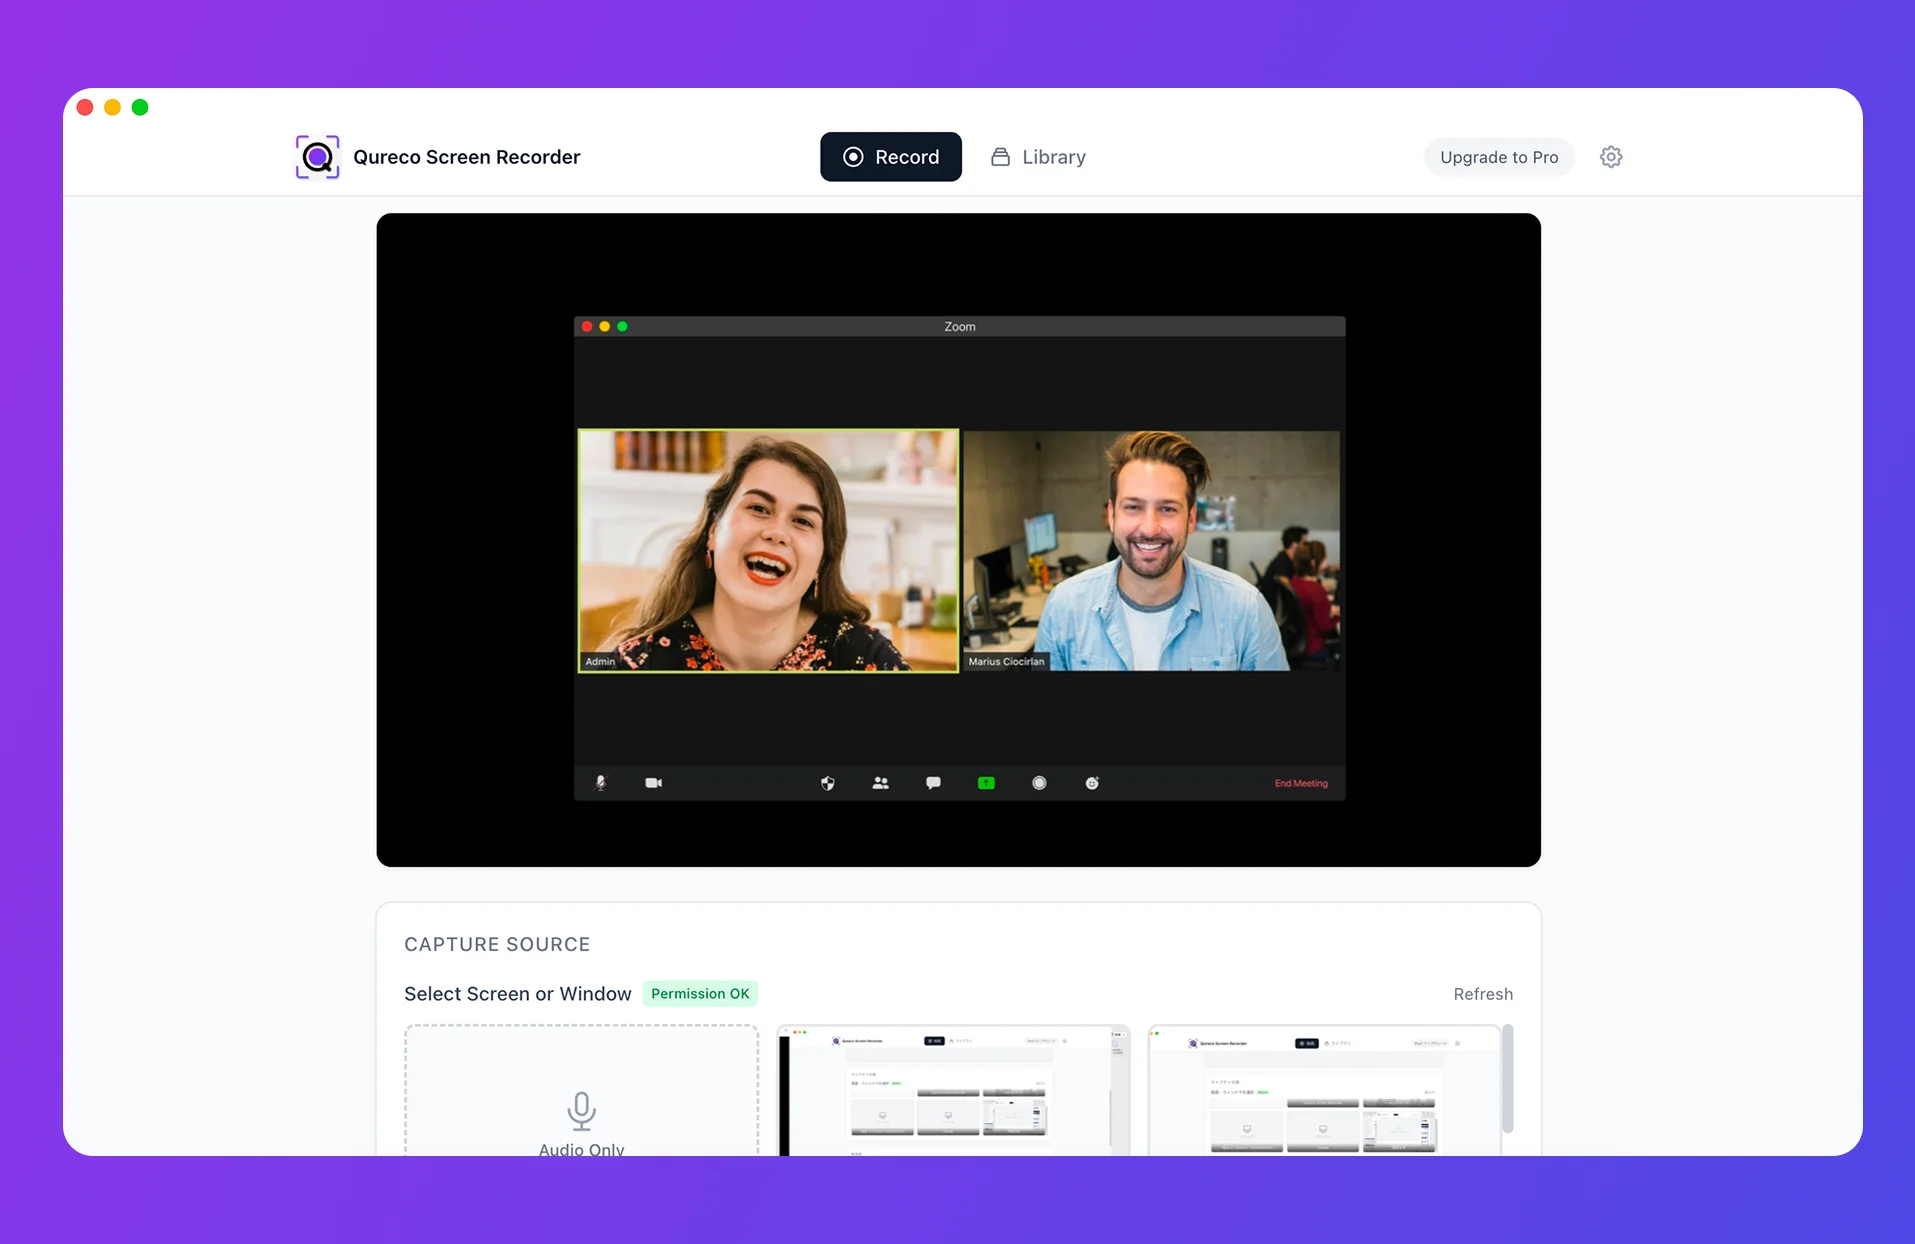
You install a "free" screen recorder, record a class, and there's a watermark sitting in the corner of the playback. You try a different one and it cuts you off at the three-minute mark with a "Sign up for Pro" pop-up.
When you're a student, even a few dollars a month is a real decision. So when you're picking the first recorder to put on your Mac, you really want one that stays free for the long run.
This article walks through three Mac apps that handle both screen recording and audio recording, won't ask for your card, and actually cover the situations students run into — lectures, seminars, group projects, and assignments.
Just install Qureco first
The pitch is pretty simple. Three things hold up on the free plan:
- No watermark, no time limit
- Picks up the other person's voice without you installing BlackHole or any other virtual audio driver
- Screen recording and audio recording, both in one app
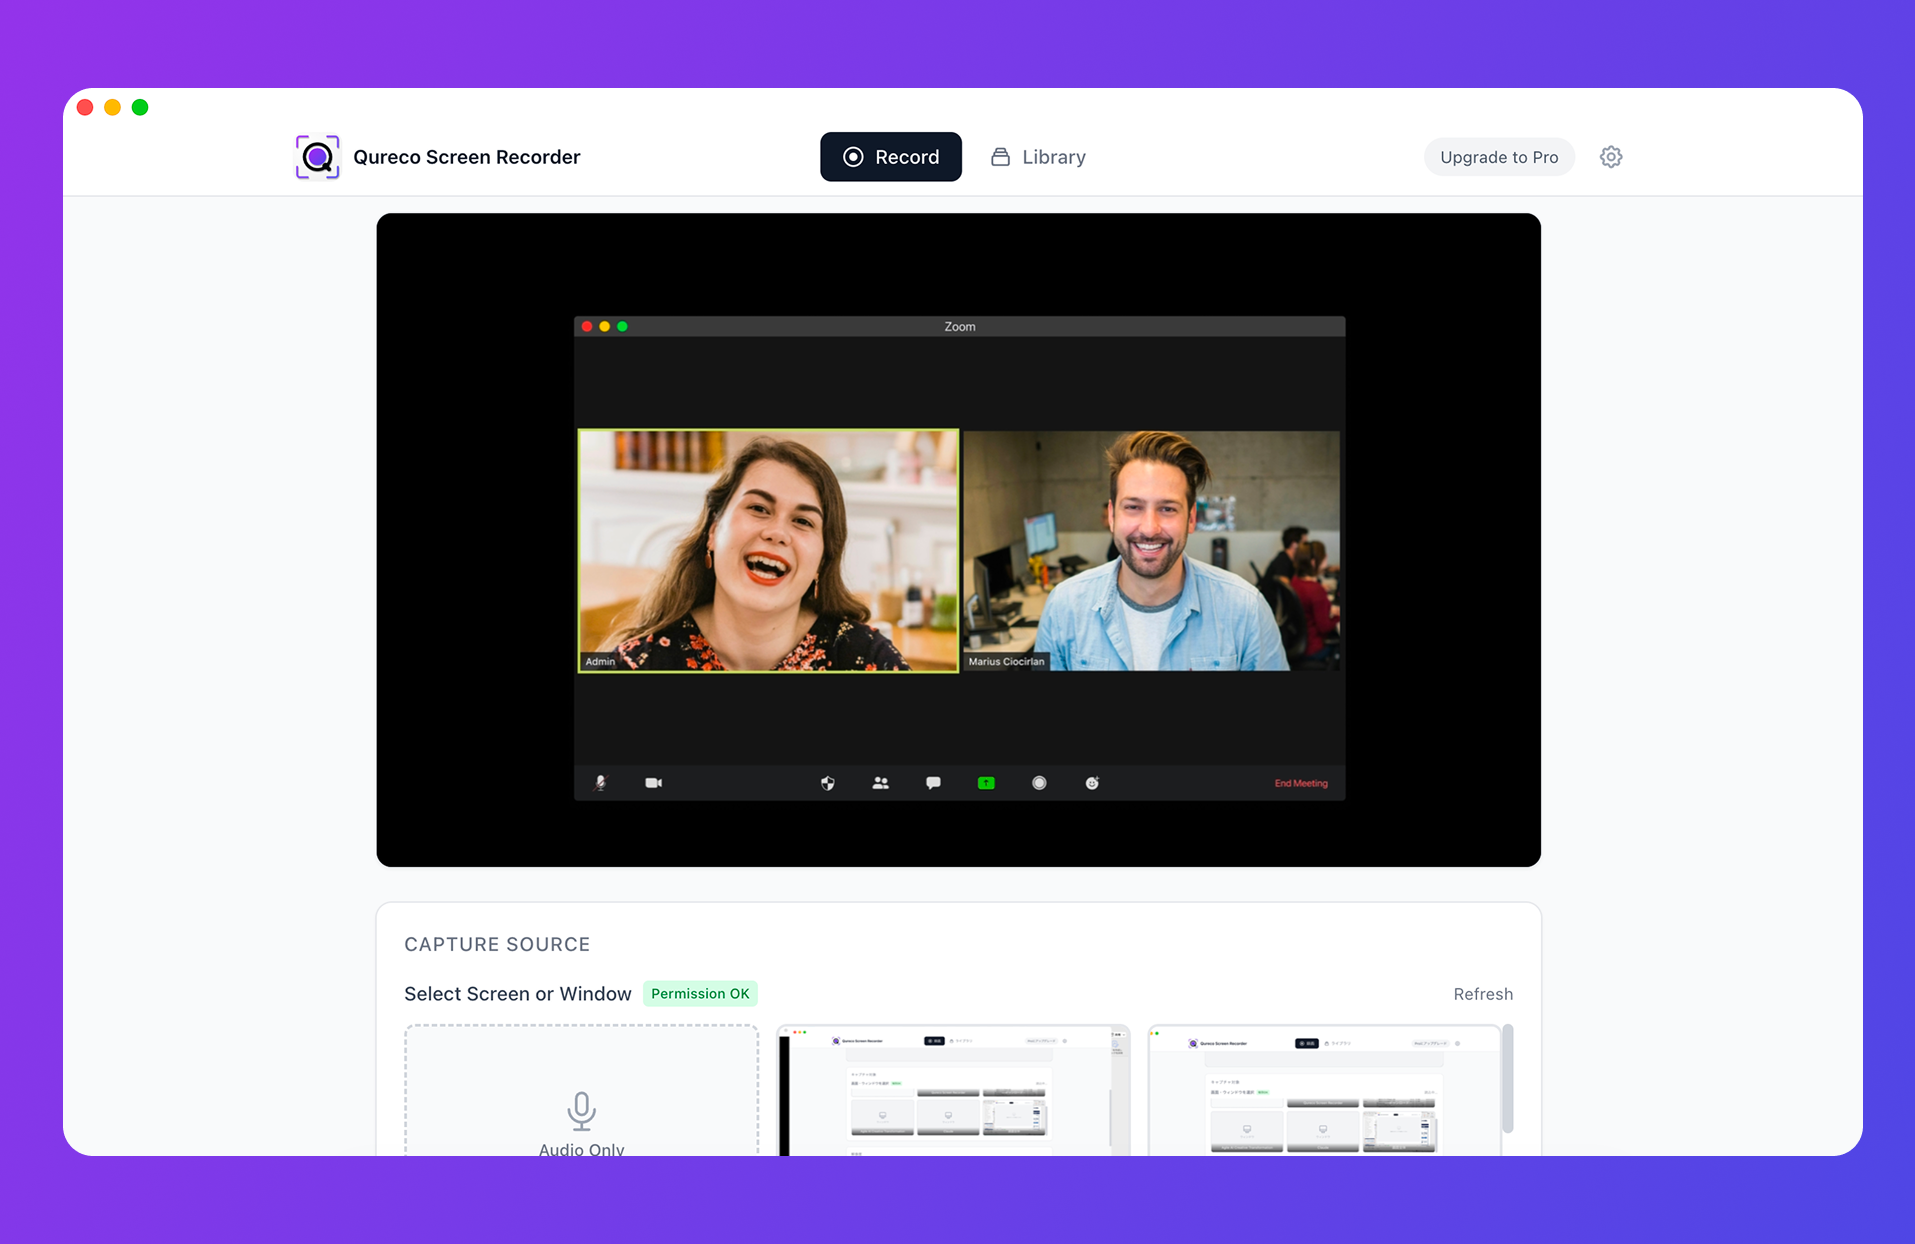
Got a class later today, or a seminar next week? You can grab it now and be set.
That said, "why only three?" and "isn't QuickTime fine on its own?" are fair questions. Let's get into it.
What students really need from a Mac recording app
Picking gets easier once you've decided what matters. Your priorities as a student look different from a YouTuber's or an office worker's, and honestly, they're pretty simple.
Free has to mean free for the long run
Most "free" screen recorders are really freemium, with a free tier that has limits quietly built in. The ones to watch for:
| Common limit | Why it bites in college |
|---|---|
| Watermark | Can't submit it as an assignment, post it to YouTube, or use it in a club video |
| Time cap (3 min, 15 min, etc.) | A 90-minute lecture or 120-minute seminar gets chopped off |
| Resolution cap (e.g. 720p) | Whiteboard notes and shared slides come out blurry |
| Output format lock (MOV only) | A pain to bring into iMovie or Premiere |
Whenever you see "free" on its own, it's worth pausing to check whether the free tier really clears all four.
It should record the second you install it
The first wall most people hit on a Mac is this: capturing the other person's voice (system audio) usually means installing extra software.
Shift + Command + 5, only pick up what your microphone hears. To grab the audio from a Zoom call or Google Meet, you'd typically install something like BlackHole or Soundflower as a virtual audio driver, then rewire how your audio is routed.If you've never done any of that, the initial setup alone can eat 30 minutes to an hour. With assignments and prep work already piling up, that's not really where you want your afternoon to go.
Install, launch, record. That's the bar.
One app for screen recording and audio recording
The situations you record in as a student are more varied than they look:
- A full lecture, screen and all
- A seminar discussion, audio only
- A presentation rehearsal, with your screen and voice
- A quick screen walkthrough for an assignment
When one app does all of those, you don't have to relearn an interface every time. Once you split it up — this app for screen, that one for audio — your file formats and save locations drift, and a few months later you're scrolling around going "where did I save that recording again?"
One app, end to end. Done.
With those in mind, here are the three.
Three Mac recording apps worth installing as a student
1. Qureco Screen Recorder — the easiest all-rounder
What's actually nice about it for student life:
- Recording time has no cap, so a 90-minute lecture or 120-minute seminar stays intact
- No watermark, so it's fine for assignments and anything you might post for a club
- No virtual audio setup, so Zoom and Google Meet audio just records
- An audio-only mode for when you only need to capture a seminar discussion
- Exports to MP4 and MP3, both of which iMovie and Notion handle without complaint
- A Pro tier you can try free for the first two weeks, with no credit card needed
Two caveats worth noting: it's macOS only, so Windows is out, and the AI-generated meeting notes and Notion sync are Pro features.
It's a good fit if:
- You're still on the fence about which Mac recording app to install first
- You want to start actually revisiting lectures and seminars instead of just sitting through them
- You're already running your seminar notes in Notion (Pro can hand the work to AI)
2. QuickTime Player — the one already on your Mac
Shift + Command + 5, the screen recording toolbar pops up, and you're recording.
What's great about it:
- It's already there — nothing to install
- Free, no watermark, no time limit
- Does both screen recording and audio-only recording
- Simple enough that you won't get lost the first time
The catch is one specific thing: it can't capture system audio. And it's a big one. To record the other person's voice on Zoom or Google Meet, you end up installing BlackHole or another virtual audio driver anyway. Output is also MOV-only, so you may need a conversion step before editing.
It's a good fit if:
- You only need to record your own voice (presentation rehearsals, screen walkthroughs)
- You want to record right now without installing anything extra
- You're on a Mac and trying to keep your app list as short as possible
3. OBS Studio — for students with one eye on streaming
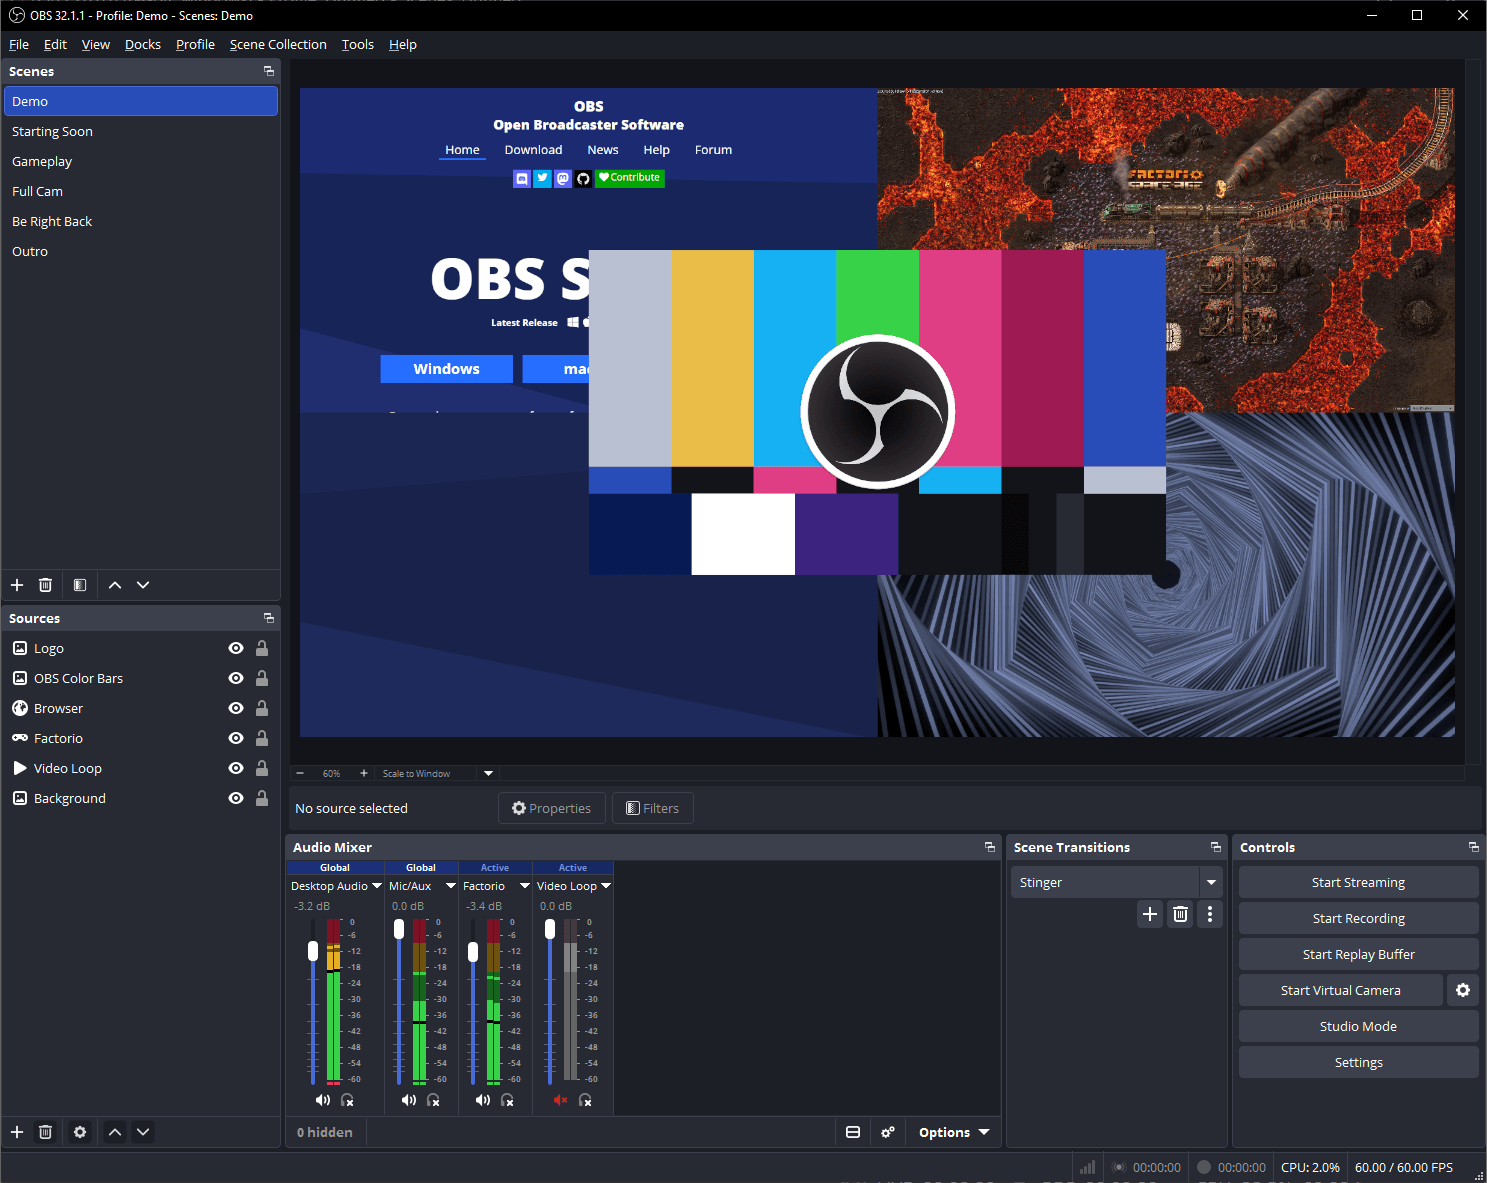
What's great about it:
- Fully free and open-source, with no feature limits at all
- Multi-source recording, so you can pull in multiple screens, cameras, and audio inputs at once
- Streams straight to YouTube Live and Twitch
- Save your scene setups and load the same configuration every time
Now, the honest part: the initial setup is genuinely hard. You need to learn scenes, sources, and audio inputs before you can really use it. On a Mac, capturing system audio still means installing BlackHole separately.
It's not the right tool when you need to record a class starting in five minutes. The interface also leans English and pretty technical, which can be intimidating early on.
That said, if you're:
- Learning to code and you want to start streaming or making real videos
- Aiming at YouTube or Twitch
- In a film or media program and looking to build up your editing chops
…the learning curve is worth it.
If you just want to hit record, skip it.
Side-by-side comparison
Here are the three lined up against what actually matters for students:
| Criterion | Qureco | QuickTime | OBS Studio |
|---|---|---|---|
| Free, no watermark | ✓ | ✓ | ✓ |
| No time limit | ✓ | ✓ | ✓ |
| System audio without a virtual driver | ✓ | ✗ (mic only) | ✗ (needs BlackHole) |
| Ready to record after install | ✓ | ✓ (pre-installed) | △ (setup required) |
| Both screen and audio modes | ✓ | ✓ | ✓ |
| Requires extra install | Yes | No | Yes |
| Learning curve | ★★★ Easy | ★★★ Easy | ★ Steep |
The three things we set out at the start — free for the long run, no setup, one app for both — only line up fully on Qureco.
QuickTime's "already on your Mac" edge is real, but the missing system audio holds it back for lectures and seminars. OBS has the highest ceiling of any tool here, but it's overkill the moment you just want to hit record.
What to use when: lectures, seminars, group projects, assignments
"OK, so which one do I use when?" Here it is, broken down by the situations you actually run into as a student.
Recording an online lecture to review later
Go with Qureco.
For lectures over Zoom or Google Meet, capturing the professor's voice — which is system audio — is kind of the whole point. Qureco handles that with no setup.
Before you hit record, check in with the professor: "Would it be OK if I recorded this to review later?" Some universities also have explicit policies on class recording, so it's worth a quick look at the syllabus or course handbook.
Capturing a seminar or research group discussion
Use Qureco's audio-only mode.
Seminar discussions don't usually need the screen, and audio files are lighter to keep around. Qureco has a dedicated audio-only mode, so you can put your MacBook on the table and just hit record.
If you upgrade to Pro (first two weeks free, no card needed), it'll turn the recording into meeting notes with AI and drop them straight into Notion. On weeks when you're on note-taking duty, that one button cuts the whole job down.
Same as with lectures, ask the room before you record. People relax once they know.
Recording a group project meeting
Go with Qureco.
For online group meetings, capturing the shared screen and the audio together is the cleanest way. The action items — who's doing what by when — stay searchable later.
If your team agrees "we record, so no one has to take minutes by hand," congrats: you've broken the rotating note-taker cycle.
Recording a screen walkthrough for an assignment
QuickTime is fine. Switch to Qureco if you need system audio.
For walkthroughs in programming or design assignments, QuickTime does the job. Talk into the mic while you record your screen and you're done.
If you also need to pull audio from another video into the explanation, switch to Qureco to grab the system audio in the same take.
Recording your presentation rehearsal
Either QuickTime or Qureco works.
Recording your rehearsals and watching them back is one of the highest-leverage habits, full stop. It pays off in job interviews, conference talks, and class presentations alike. If you only need your own voice, QuickTime is enough. If you want a clean recording with the slide transitions in there too, Qureco is the better call.
A few quick checks before you commit
A few last things to confirm before you install anything.
"Free" vs. "free tier" — keep them straight
When you see "free" in an app store or on a landing page, slow down and check whether it means free forever or just a free plan. If it's a free plan, assume at least one of these is in there: a watermark, a time cap, or a resolution lock. That mindset saves you a lot of "oh, come on" later.
Make sure one app handles both
Plenty of apps record the screen but not audio, or vice versa. Student situations mix the two, so confirm one app covers both before you commit.
Decide where the recordings will live
Recording files get bigger than you'd guess. On a 256 GB MacBook Air, ten 90-minute lectures will start eating into your free space.
- Active recordings → save locally (Qureco and QuickTime do this by default)
- "I might rewatch this someday" → back up to iCloud Drive or Google Drive
- Seminar notes and class material → hook into Notion so they're searchable later
If you already keep your class notes or research in Notion, Qureco Pro's Notion integration moves recording → AI notes → Notion in a single click.
Just install Qureco and try it
Quick recap:
- The three things you really need from a recording app as a student are stays free, no setup, one app for both
- Of the three, the only one that ticks all three boxes is Qureco
- QuickTime is already on your Mac, so keep it around for the "voice only" situations
- OBS is the one to learn if you're aiming at streaming or real video work
Getting into the habit of recording, rewatching, and capturing notes pays compound interest. Lectures stick better, presentations get sharper, and seminar notes stop being a chore. The same habit shows up later in job hunting, research, and your thesis.
If you're going to try one for free, start with Qureco. It records the moment you install, and if your SSD fills up, Pro's 30 GB cloud storage is there. First two weeks are free, no card needed — so if it turns out it's not for you, nothing happens.
Qureco Screen Recorder
Powerful screen recording app for Mac
Record meetings, let AI handle the notes, just read what arrives in Notion.
Try all features free for the first two weeks.