You hit play on the Zoom call you just recorded, and all you hear is your own voice. The other side? Silent.
Sound familiar? The screen captured fine, but the other party's voice isn't in there. There's another call tomorrow, and you need the next recording to actually work.
The good news: when Mac screen recording fails to capture audio, the cause is usually predictable from the symptom. This guide gives you a symptom-based lookup table first, then walks through each fix in order. And at the end, for anyone who keeps getting stuck on configuration, the fastest route to a "just works, no thinking required" setup.
Symptom-based lookup table
"No audio" can mean several completely different problems. Start by finding which row below matches your situation.
| Symptom | Likely cause | Jump to |
|---|---|---|
| Neither your voice nor the other person's voice was captured | Mic is toggled off inside the recording tool | Symptom 1 |
| Recording starts but permission dialogs keep popping or get denied | OS-level mic / screen recording permission isn't granted | Symptom 2 |
| Your voice is captured, but the Zoom caller's voice or YouTube audio isn't | You're trying to record "internal audio" (a macOS limitation) | Symptom 3 |
| It worked yesterday, no audio today | Recording / playback device selection drifted | Symptom 4 |
| OS settings look fine, but a specific app still produces no audio | Audio track is disabled inside the app itself | Symptom 5 |
Symptom 1: The mic is off (most common)
Shift + Command + 5) defaults to "no microphone," which catches a surprising number of people.Pick a mic in Shift + Command + 5 options

- Press
Shift + Command + 5to bring up the toolbar - Click "Options"
- Under "Microphone," pick your built-in mic or an external one
∨ arrow next to the record button to pick a mic. If it's set to "None," switch it to your built-in mic or whatever you actually want.The 5-second level-meter check
After setting the mic, watch the level meter and speak briefly into it. If the meter doesn't move, your recording will be silent — guaranteed.
Building the habit of "say a quick word before hitting record" eliminates the majority of silent-recording disasters in this article.
Symptom 2: OS-level permissions aren't granted
Modern macOS manages microphone and screen recording permissions separately, per app. Even with the mic turned on inside the recording tool, it won't work without OS-level approval.
Check macOS permission settings
System Settings → Privacy & Security and check both:- Microphone: enable for the recording app you're using
- Screen Recording: enable for the recording app you're using
After flipping a switch, fully quit and relaunch the app. Toggling while the app is running often doesn't apply the change.
Watch out for Sequoia's periodic re-check
When the re-confirmation dialog appears, approve it right then instead of clicking "Later."
Symptom 3: You're trying to record "internal audio" (a macOS limitation)
This is where most people lose hours.
Why Mac's standard tools can't record system audio
Shift + Command + 5 and QuickTime Player only record audio coming in through a microphone input. There's no built-in path to capture what's playing out of your speakers — and that hasn't changed in macOS Sequoia either.You have two real options.
Option A: Install a virtual audio driver (BlackHole)
- Install BlackHole
- Open macOS "Audio MIDI Setup"
- Create a "Multi-Output Device" with both your built-in speakers and BlackHole checked
- Switch your system audio output to that multi-output device
- In your recording app, set the mic input to BlackHole
Only after all five steps does the recording actually capture system audio. And there are ongoing operational quirks:
- Your system volume becomes fixed during recording
- Switching to a different audio device usually means rebuilding the entire setup
- If you forget to switch the output back after recording, your next Zoom call has no audio
- macOS updates occasionally reset the Multi-Output Device config
It's less "set it once, forget it" and more "stay a little careful every time you record." For monthly recording, this is fine. For daily recording, the friction stacks fast.
Option B: Switch to an app that doesn't need the setup
If you'd rather skip the virtual-audio dance entirely, there are dedicated apps that record internal audio natively — no setup needed. Install, open, toggle mic and system audio independently in the UI.
For people who want "the next meeting to just work without thinking," or who record often, this option wins on time cost. There's a specific recommendation a bit further down.
Symptom 4: Recording or playback device doesn't match your intent
"It worked yesterday, no audio today" almost always means your recording or playback device silently switched to something else.
Common triggers:
- You plugged or unplugged a headset for a meeting
- You re-paired Bluetooth earbuds with a different device (your phone stole them)
- You connected an external display via HDMI
The HDMI case is the sneakiest: audio output can silently switch to the display, meaning your built-in speakers go quiet and your recording follows wherever macOS decided to send audio.
System Settings → Sound and verify both "Output" and "Input" point at the device you actually mean. Inside the recording app, explicitly re-select the input device — just to be sure.Symptom 5: Audio is disabled inside the app
- QuickTime Player: File → New Screen Recording, click the
∨arrow next to the record button. If "Microphone" is set to "None," change it. - OBS Studio: In the sources list, make sure "Audio Input Capture" and "Audio Output Capture" are added, and check the mixer's level meter responds when sound plays.
- Conferencing apps' built-in recording: Tools like Zoom have separate options for recording your voice, other participants', and system audio. Make sure "Record audio" hasn't been toggled off.
If you build the habit of playing a sound and watching the meter before any important recording, silent-recording accidents drop to nearly zero.
When configuration keeps fighting you, switching tools is the shortcut
Most readers who got this far probably solved their problem with Symptom 1, 2, 4, or 5. But a meaningful number get stuck on Symptom 3 (internal audio).
Yes, the virtual-audio setup is free. But the ongoing costs are real:
- Creating a Multi-Output Device in Audio MIDI Setup
- Switching audio output paths every time you record
- Rebuilding everything when you change headsets
- Re-verifying after macOS updates
For people who record more than occasionally, doing all of that every time is genuinely a drag.
Three reasons Qureco fits this problem
No need to touch BlackHole or Audio MIDI Setup. Install, open the app, toggle mic and system audio independently in the UI. Both get recorded at the same time. Qureco doesn't rewrite your sound output device, so there's no "forgot to switch back, next Zoom is silent" accident lurking after every session.
Free apps usually have catches. Qureco's screen recording doesn't.
- Recording length: unlimited
- Watermark: none
- Credit card: not required to download
Whether it's a single sales call or a multi-hour tutorial, everything stays within the free tier.
Each one has its own level meter, so you can visually confirm both are picking up sound before you hit record. The "always check the meter first" best practice is baked right into the interface.
If you want "the next meeting to just work without thinking," this is the shortest path.
Beyond recording: turning audio into assets with AI notes and Notion
Once your screen recording reliably captures audio, the next question becomes: what do you actually do with the recording? In practice, writing meeting notes after the fact is the part that drains the most time.
- AI generates meeting notes from your recording — summary, decisions, action items
- Customize the notes template so every meeting follows the same shape
- One-click export of finished notes to a Notion database
It turns "record and forget" into "record and own a permanent asset." If you usually paste meeting audio into an AI to generate notes, or organize all your meeting notes in Notion, this removes the entire manual loop.
Pro is free for the first month, no card required — so you can try it for a month and drop back to the free plan if it doesn't fit your workflow.
FAQ
Will updating macOS make internal audio recording work in the built-in tools?
Shift + Command + 5 / Screenshot / QuickTime) still don't have a system audio recording option. Apple has gradually added more privacy gates around audio, not fewer. For the foreseeable future, you'll need either a virtual audio driver or a dedicated app.Can I just use BlackHole for free internal audio recording?
Technically, yes. But you'll need to create a Multi-Output Device in Audio MIDI Setup and switch output paths every recording. For a few times a month, this is a reasonable free option. For weekly or daily recording, the time cost adds up enough to reconsider.
What if my recording has noise or cutouts mid-session?
Common causes: another app is holding the same mic, sample rate mismatch between the app and OS, or high CPU load. Close other meeting and voice-chat apps before recording, and temporarily disable noise-suppression software — that usually clears it up.
Does Qureco work on Windows?
Qureco is currently macOS-only. For internal audio on Windows, start by enabling Stereo Mix.
My voice records loud but the other side is faint — why?
The system audio capture level is lower than your mic. Two fixes: turn up the system output volume before recording (Qureco and most modern recorders let you tune mic gain and system audio gain independently), or check the meeting platform's "Original sound" / noise-suppression settings, which can dampen incoming voice.
Where do recorded files save by default?
Shift + Command + 5 saves to your Desktop by default (changeable in the toolbar's Options menu). Most third-party apps default to a dedicated library, then let you export anywhere on disk.Diagnose by symptom, switch tools when internal audio is the blocker
The reasons "Mac screen recording captures no audio" come down to five:
- The mic is toggled off in the recording tool
- OS-level mic / screen recording permission isn't granted
- You're trying to record internal audio (a macOS structural limit)
- Recording / playback device selection has drifted
- The audio track is disabled inside the app
Symptoms 1, 2, 4, and 5 are all solvable with a configuration adjustment — most readers who got this far should record successfully on their next try.
The real wall is Symptom 3, internal audio. You can grind through it with a virtual audio driver like BlackHole. If you record often, though, switching to a dedicated app that captures internal audio from the start is the more sustainable choice.
When you keep hitting setup snags, build a system where you don't have to think about them. That mindset pays off over the long haul of working with screen recording — and the next playback should sound exactly the way you expected it to.
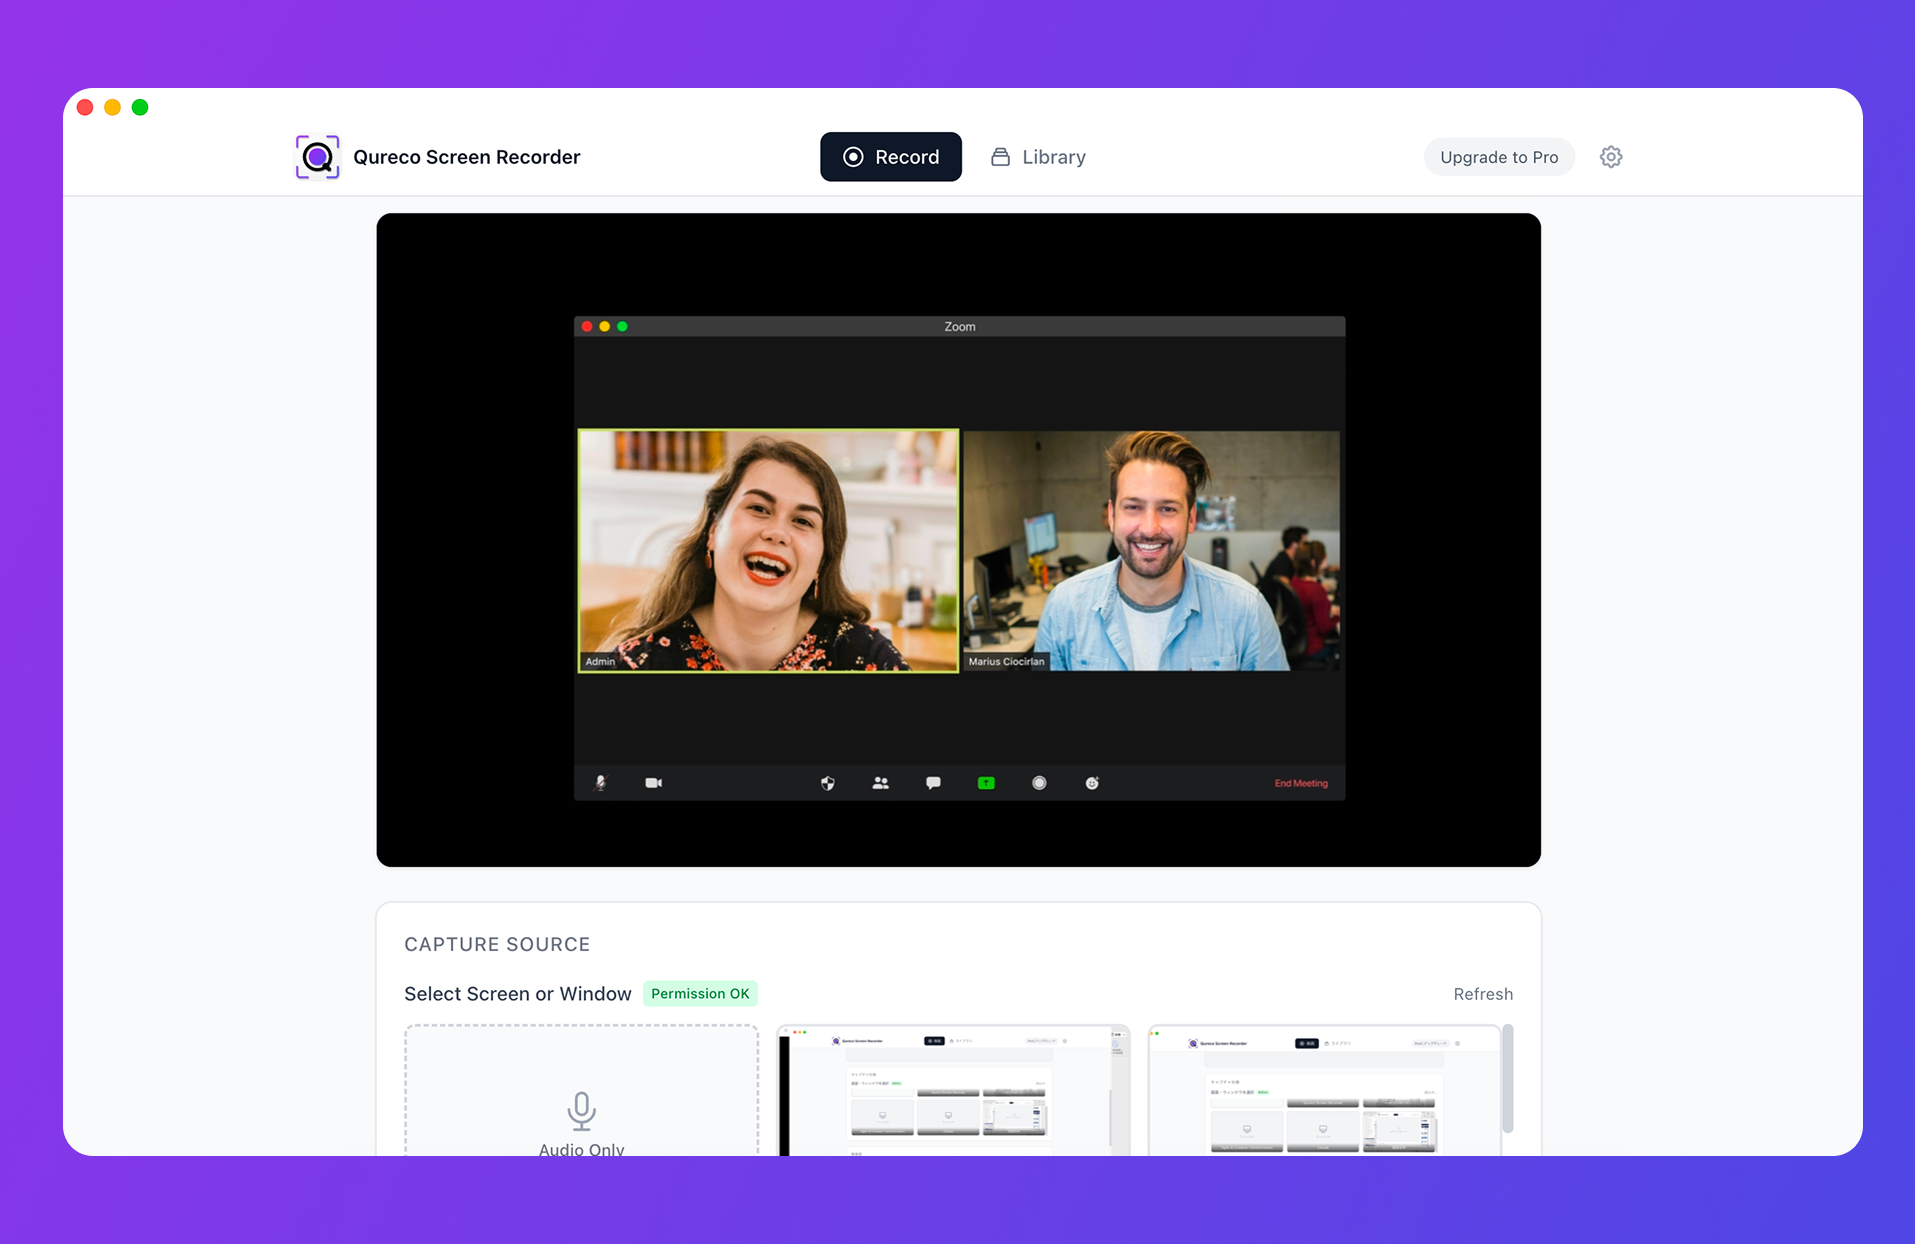
Qureco Screen Recorder
Powerful screen recording app for Mac
Record meetings, let AI handle the notes, just read what arrives in Notion.
Try all features free for the first month.