A connector's setup screen — or a tutorial you're following — tells you to "enter your Notion API key," but you can't find where that "key" actually lives. You dig through every Notion setting and nothing looks like it.
One thing first. If the reason you're here is to automatically save meeting notes to Notion, there are ways to do it besides getting an API key and wiring it up yourself. Which approach fits you best is compared in detail in How to Auto-Post Meeting Notes to Notion: No-Code vs. API Code vs. All-in-One — it's worth reading first to decide whether you even need an API key.
What is a "Notion API key"? It's an integration token
Before the steps, let's line up one piece of terminology. Get this wrong, and you'll wander the settings looking for an "API key" that isn't there.
A Notion API key = the token issued when you create an integration
That token is the key that lets an outside tool or your own code access your Notion.
There are two kinds of integration:
| Type | Use case | Which one? |
|---|---|---|
| Internal integration | Used only within your own workspace | Pick this for personal automation/connections |
| Public integration | An app distributed to many users | For developers building distributable apps |
ntn_ (for tokens created after September 2024; older secret_ tokens still work). Just remember: this is your password-equivalent key.If you haven't yet figured out what the Notion API can even do, read What Is the Notion API? A Plain-English Guide first — it makes the rest of these steps click into place.
The big picture: three steps
| Step | What you do | Time | If you skip it… |
|---|---|---|---|
| ① Create | Create a new integration | 1–2 min | You never get the key |
| ② Copy | Copy the token (API key) | 30 sec | No key to paste into your connector |
| ③ Connect | Connect the integration to your DB/page | 1 min | Permission error, nothing works |
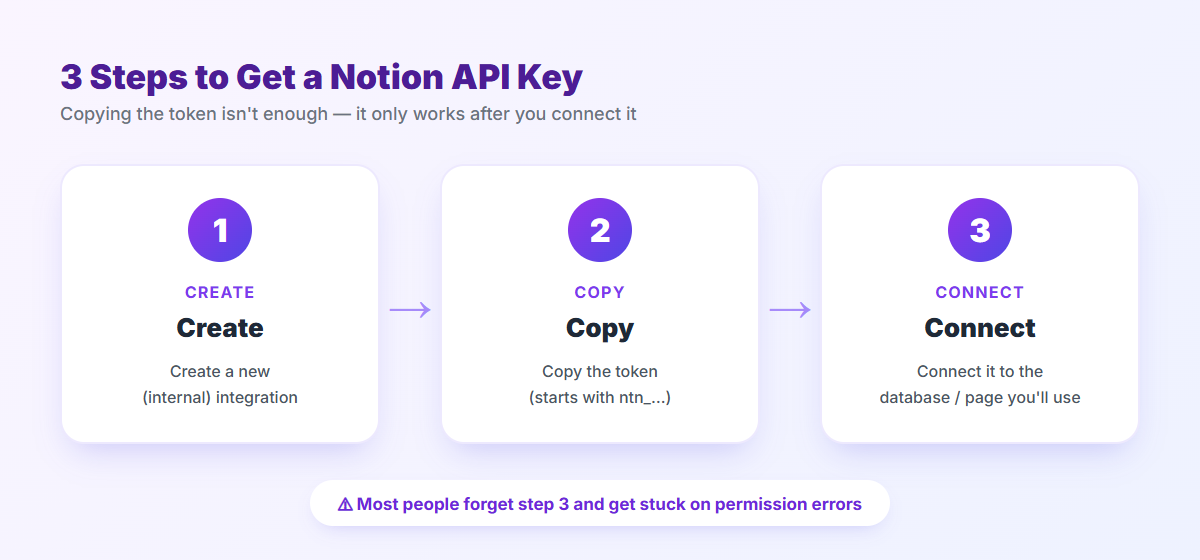
Keep that in mind as we go.
Steps 1–2: Create an integration and copy the token
Steps ① create and ② copy are one continuous task, so we'll do them together.
Open the developer page
In your browser, go to:
Settings → Connections → (at the bottom) Develop your own connections / Develop or manage integrations.Gotcha: Creating an integration generally requires being an owner of that workspace. If the create button is greyed out or missing in a company workspace, ask an admin or try it in a workspace you own.
Create a "New integration"
+ New integration, then fill in:- Name: something you'll recognize later (e.g.
Meeting notes sync,For Zapier) - Associated workspace: select the workspace you want to connect
- Type: choose
Internal
Save, and the integration is created.
Copy the token (your API key)
••• menu in the list), you'll find a field called Internal Integration Secret. That's your Notion API key.Show, and a string starting with ntn_ appears. Hit Copy and keep it somewhere safe. That string is what goes into the "Notion API key" or "token" field of your connector.Check the capabilities
- Read content: read pages and databases in Notion
- Insert content: add new pages and blocks
- Update content: modify existing pages
- User information: read workspace member info (choose "No user information" if you don't need it)
At this point you have the key itself. But you're not done — the final step ③ is the one that matters most.
Step 3: Connect it to your database (where 9 in 10 people get stuck)
This is the crux of the whole guide.
- Open the database (or page) you want the API to work with in Notion
- Click the
•••(three-dot menu) in the top right - Choose
Connections - Search for and select the integration you just created
- Confirm in the dialog
Note: if you connect to a parent page instead of a single database, the access extends to the pages and databases nested under it. To connect several databases at once, connecting at a higher-level page is easier to manage.
"I got the key but it doesn't work": permission errors and fixes
If you followed the steps it should just work — but if your connector or code throws an error, it's almost always one of these. Stay calm and narrow it down.
| Symptom / error | Common cause | Fix |
|---|---|---|
Could not find object / 404 | Forgot to connect to the DB (step 3) | On the target DB/page, ••• → Connections → add your integration |
401 Unauthorized | Wrong token / copy mistake | Re-copy the token; check for stray spaces or line breaks |
| Only writes fail | Insufficient Capabilities | Enable Insert/Update content in settings |
| No databases visible | Using a token from another workspace | Confirm the token was created in the same workspace as your connection |
Could not find object," check whether you've connected the integration to the target database.Storing your API key (token) safely
- Don't expose it: never paste it into committed code, chats, or screenshots
- Store it safely: keep it in a
.envfile or environment variable — and a secrets manager for production - Regenerate if leaked: refresh the token from the settings menu, and the old one is instantly invalidated
You might not need an API key at all
Having walked you through the whole thing, here's an honest note to close on.
If all you want is "meeting records piling up in my Notion database," you can skip the API setup entirely and get there fastest.
Once you've got the token, the natural next question — "so how do I actually use it to post notes?" — is covered here:
- How to Auto-Post Meeting Notes to Notion: No-Code vs. API Code vs. All-in-One
- To get your note format right → The Complete Guide to Notion Meeting Note Templates
Wrapping up
From being stuck at "enter your Notion API key," you should now have a key that actually works. Quick recap:
- A Notion API key = an integration token. Create an internal integration at
notion.so/my-integrationsand copy it (a string starting withntn_). - Getting it takes three steps: ① create → ② copy the token → ③ connect to your target DB. It only works once you finish ③.
- The "I got the key but it doesn't work" error is usually a missing connection to the target database.
- A token is password-equivalent: don't expose it, store it safely, and regenerate it if it leaks.
- If your goal is just saving meeting notes to Notion, there's an all-in-one route that skips the API key entirely.
Whether you master the API or pick the no-setup path, you'll end up in the same place: records quietly accumulating in your Notion.
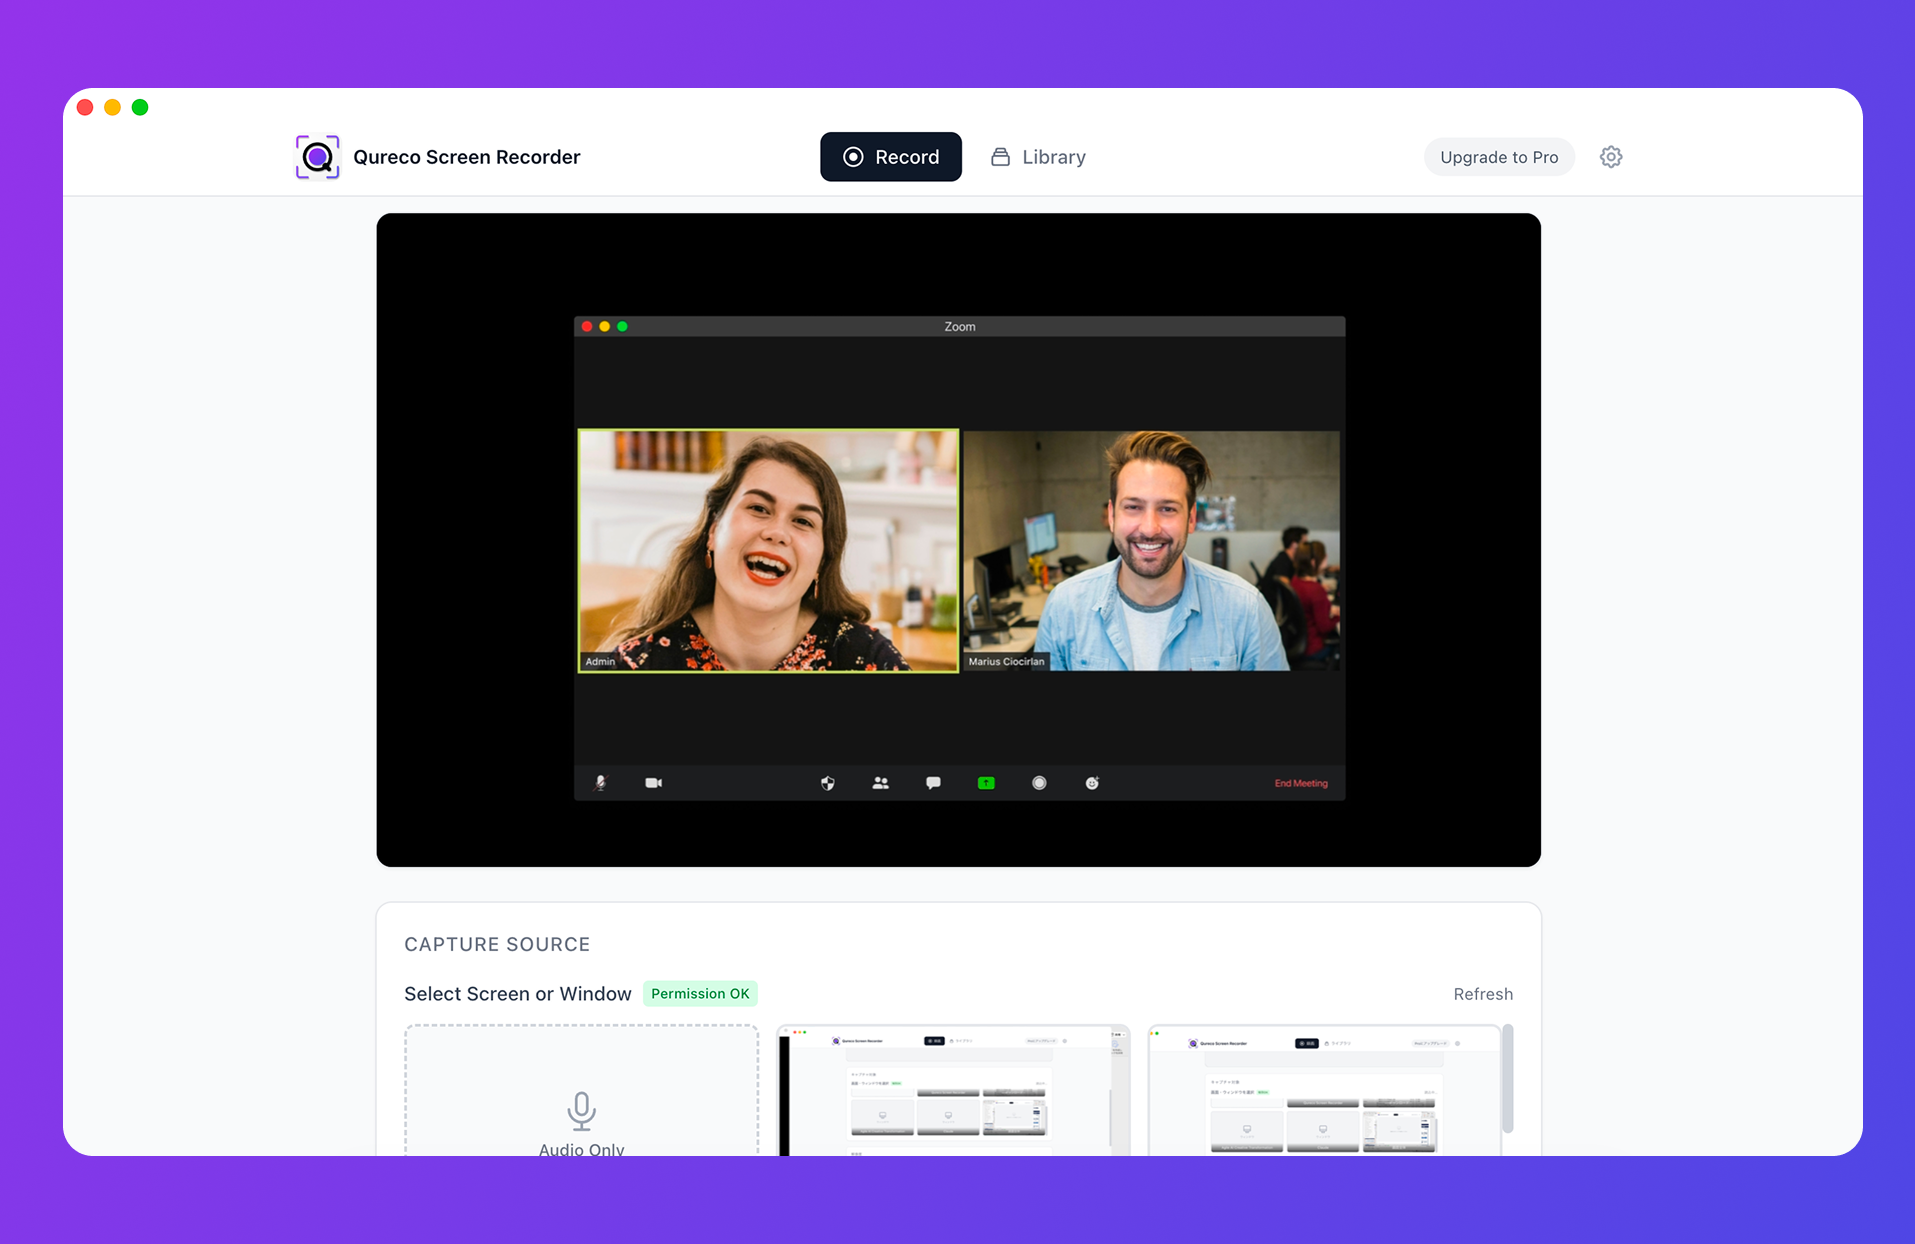
Qureco Screen Recorder
Powerful screen recording app for Mac
Record meetings, let AI handle the notes, just read what arrives in Notion.
Try all features free for the first month.