You open the OBS Audio Mixer and there is no Desktop Audio channel anywhere. Your microphone meter is bouncing, but the video playing on your screen is not being recorded at all. Every tutorial screenshot shows a slider that simply does not exist on your machine.
You also probably do not need BlackHole, despite what most search results tell you. If you are running OBS 30 or later on macOS 13 or later, adding a single source gets your system sound into OBS. This guide covers how to check which route applies to you, the exact clicks, and what to look at when the audio still does not land. It is written for macOS only. If you are on Windows, the causes are completely different and you will want a different guide.
The 30-second version
| What to check | Answer |
|---|---|
| Why it fails | macOS blocks apps from capturing other apps' audio by design. This is not an OBS bug |
| The current fix | OBS 30+ on macOS 13+ → add one "macOS Audio Capture" source |
| Do I need BlackHole | No, as long as you meet the versions above |
| Most common mistake | Hiding the source also kills its audio / a macOS update silently revoked Screen Recording permission |
| Time needed | About a minute, or five including version checks |
Why there is no Desktop Audio on a Mac
The difference is in how the audio is routed
On Windows, OBS ships with a Desktop Audio input out of the box. The operating system exposes whatever is going to your speakers as something another application can read.
macOS has no such path. By default, no application is allowed to listen in on the sound another application is producing. That decision was made for privacy and security reasons, and it has constrained every Mac screen recorder ever written, not just OBS.
So a missing Desktop Audio channel does not mean you skipped a setting or botched the install.
Which is why virtual audio devices existed
The traditional workaround was a virtual audio device: Soundflower, BlackHole, VB-CABLE. These create a fake speaker inside your Mac, you send your system audio into it, and OBS then reads that fake speaker as if it were a microphone. It is a detour, and for years it was the only one available.
One warning about the guides you will find: the Soundflower instructions still ranking in search results do not work on Apple Silicon Macs or on recent versions of macOS. If you have been following those steps and hitting a wall, the problem is the age of the instructions, not you.
That is no longer the situation
No extra driver. No system extension. Check your versions first, then pick your route below.
Check two version numbers first
Your OBS Studio version
Your macOS version
Which route applies to you
| Your setup | Route | Extra software |
|---|---|---|
| OBS 30+ and macOS 13+ | Route A: add macOS Audio Capture | None |
| OBS 28 to 29 and macOS 13+ | Route B: capture audio inside the screen capture source | None |
| macOS 12 or earlier, or OBS 27 or earlier | Route C: update, or use a virtual audio device | Sometimes |
Most people land on Route A. If you installed OBS recently, start there.
Route A: capture system audio with no extra software
The steps
- Click + at the bottom of the Sources panel
- Choose macOS Audio Capture, give it a name, and click OK
- In the properties window, pick what you want to capture: all desktop audio, or a single application
- Click OK. A new channel appears in the Audio Mixer
Play something in the target app. If the level meter moves, OBS is receiving audio.
Whole desktop or a single app
Being able to scope the capture is a genuine advantage of the Mac implementation.
| Target | Best for | Watch out for |
|---|---|---|
| Entire desktop | Recording background music alongside video, walkthroughs that move between apps | Slack and Mail notification sounds get captured too |
| A single application | Capturing only the other party's voice in a call, single-app demos | Nothing outside that app is recorded |
For tutorial recordings, scoping to one application is the safer choice. A notification arriving mid-take will not end up in the file.
The trap when you want audio only
If you want audio without the video, do not hide the source. Place it behind your other sources, or set its dimensions to zero. A large share of "my settings look right but nothing was recorded" cases come down to this.
Do a 30-second test recording
A moving level meter does not guarantee audio in the exported file. Before any long session, record for 30 seconds and play it back.
Check three things:
- Is the audio from your Mac present
- Is your own voice present
- Is the left and right balance sane
Discovering the problem after a two-hour recording is not recoverable. Those 30 seconds are the cheapest insurance in this whole workflow.
Routes B and C: when you fall outside those versions
Route B: capture audio through the screen capture source (OBS 28 to 29)
If macOS Audio Capture is not in your source list, your OBS is likely older than version 30. On macOS 13 or later you can still get audio through the video source.
Honestly, updating OBS is faster than working around this. Once you do, Route A is available.
Route C: when BlackHole is still the answer
A virtual audio device remains a reasonable option if:
- You are on macOS 12 or earlier and cannot update
- You need fine-grained audio routing with no video source involved at all
When you did everything right and still get no audio
If the steps went fine but the sound is missing, the cause is usually outside OBS. Work down this list in order.
1. Screen Recording permission was revoked
After toggling it, quit OBS completely and relaunch. Closing the window is not enough.
2. Microphone permission is tracked separately
If system audio comes through but your own voice does not, check Microphone in that same panel. Screen Recording and Microphone are two independent permissions, and having one without the other is common.
3. The source is hidden
Same trap as Route A. Check the eye icon next to your source.
4. A version-specific bug
Sometimes nothing is wrong with your configuration. As of August 2026, the OBS forums and GitHub carry reports of screen capture regressions with certain OBS builds on macOS 26 Tahoe, and of macOS Audio Capture dropping out after a few minutes.
When OBS is more tool than you need
If your audio is working now, you can stop here. But there is one question worth asking.
What OBS is genuinely great at
OBS is a serious broadcasting application, and for these jobs nothing really replaces it:
- Live streaming to YouTube, Twitch and similar platforms
- Compositing camera, screen, images and lower thirds into one output
- Switching between scenes during a session
- Tightly controlled encoding for high-quality captures
If that is your work, the setup cost is worth paying.
If you only want a record of a meeting
If your goal is closer to "I want to look back at what was said in this call" or "I want to record a walkthrough and share it," OBS is a lot of machinery for the job. Adding sources, clearing permissions and test-recording is overhead you pay every time.
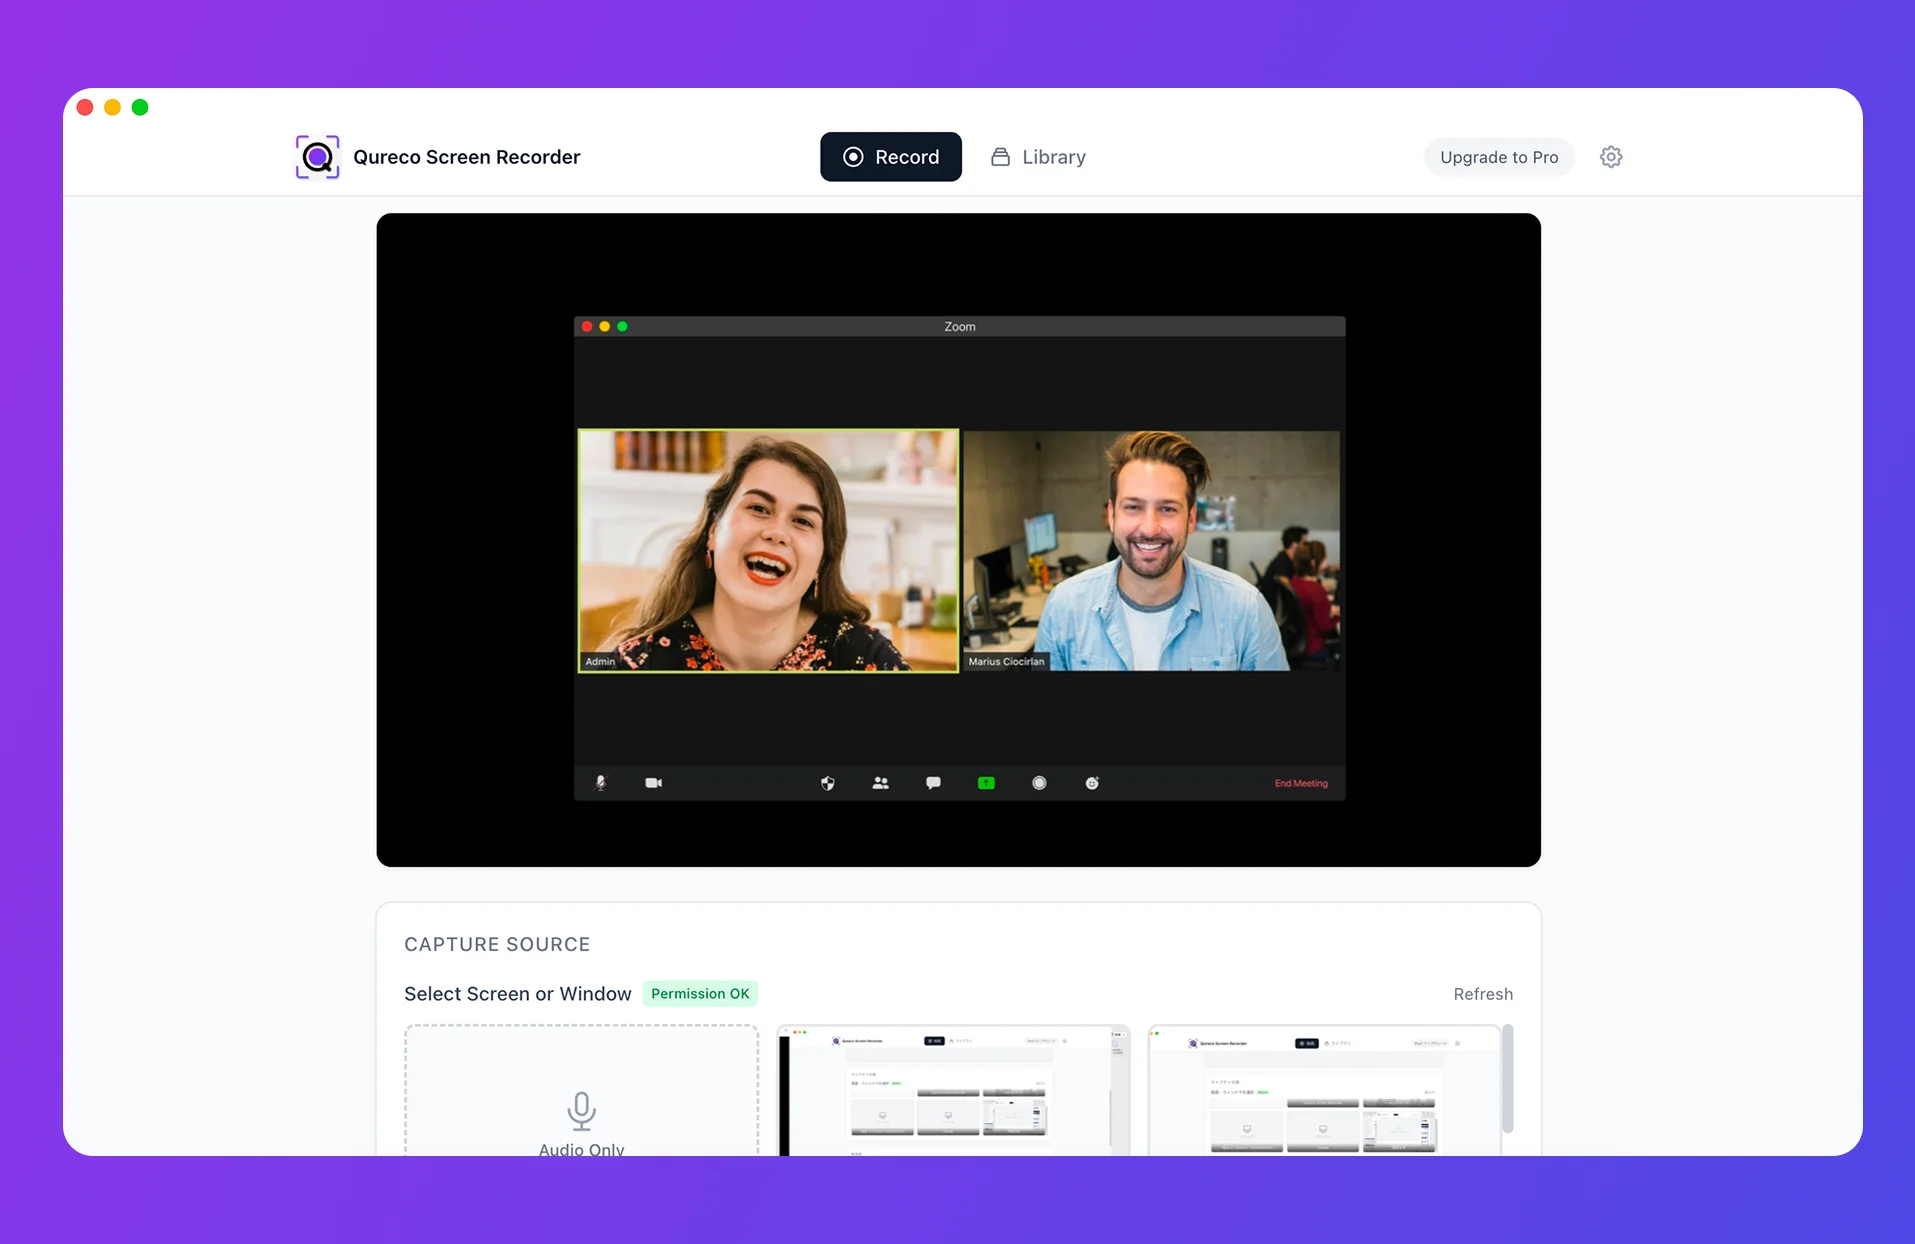
For that use case, an app where you press record and system audio is simply already included fits the goal better.
On the Pro plan, recorded meetings are turned into AI-generated notes and pushed straight into Notion, so a call ends with searchable text rather than one more video file you will never open. Pro starts with a free two-week trial and does not ask for a credit card.
If you are streaming, stay on OBS. This is about matching the tool to the job.
Frequently asked questions
Is there a setting that makes Desktop Audio appear in OBS on a Mac?
No. The fixed Desktop Audio input that exists in the Windows build is simply not present in the macOS build, and no amount of searching the settings will reveal it. On a Mac you add a macOS Audio Capture source yourself instead.
I already installed BlackHole. Should I remove it?
Leaving it installed does no harm. Just make sure your Mac's sound output in System Settings points back at your normal speakers or headphones, otherwise you will hear nothing. Once you move to macOS Audio Capture, the BlackHole routing simply goes unused.
Can I keep my microphone and system audio on separate tracks?
Yes. Your microphone and the macOS Audio Capture source appear as independent channels in the Audio Mixer. Use Advanced Audio Properties to assign each one to specific tracks, then enable multiple tracks in your recording settings. You need this if you plan to adjust only your own voice while editing.
Audio stopped working right after I updated macOS
Screen Recording permission was most likely revoked during the update. Open System Settings, go to Privacy & Security, find Screen Recording (Screen & System Audio Recording on macOS 26) and confirm OBS is enabled, then quit and relaunch OBS. If that does not resolve it, consider a version-specific bug.
I only want the other person's voice from a video call
Set the macOS Audio Capture target to the meeting app rather than the entire desktop, and notification sounds will stay out of the recording. If your real goal is reviewing what was said rather than producing a video, a tool like Qureco that goes from recording to AI meeting notes in one pass will get you there with fewer steps.
My recorded audio cuts in and out
There are open reports on the OBS forums about macOS Audio Capture dropping after a few minutes. Update OBS first. If it persists, delete the source and recreate it. If that fails too, rolling back to an earlier OBS build is a reasonable call.
Terms used in this article
| Term | Meaning |
|---|---|
| System audio / internal audio | Sound your Mac itself is producing: the other person's voice on a call, video playback, notification chimes. Distinct from what a microphone picks up from the room |
| Desktop Audio | OBS's name for system audio. The Windows build has an input by this name, the macOS build does not |
| macOS Audio Capture | A source added in OBS Studio 30. On macOS 13 and later it captures the whole desktop or a single app with no additional drivers |
| ScreenCaptureKit | Apple's official framework, introduced in macOS 13, for capturing a display or app together with its audio. This is what macOS Audio Capture is built on |
| Virtual audio device | Software that creates a fake speaker inside your Mac so audio can be handed to another application. BlackHole, Soundflower and VB-CABLE are examples |
| BlackHole | A widely used free virtual audio device. Installing it requires changing your Mac's audio output, which means extra setup to keep monitoring your own sound |
Summary
The missing Desktop Audio channel in OBS on a Mac is a design decision in macOS, not a fault. Working through it looks like this:
- Check your OBS and macOS versions
- On OBS 30+ with macOS 13+, add a macOS Audio Capture source. BlackHole is not required
- Once the meter moves, do a 30-second test recording and play back the file
- If audio is missing, check Screen Recording permission, then source visibility, then version-specific bugs
And if what you actually need is a record of your meetings rather than a broadcast setup, skipping the configuration step entirely is a legitimate option. Knowing which of the two you are doing makes the tool choice straightforward.
Qureco Screen Recorder
Powerful screen recording app for Mac
Record meetings, let AI handle the notes, just read what arrives in Notion.
Try all features free for the first two weeks.